Quickstart
Deploy your first application to Nexlayer in under 5 minutes.
Prerequisites
- A GitHub repository you want to deploy (or use our example)
- For the MCP path: an AI coding tool that supports MCP (Claude Code, Cursor, etc.) and Node installed for the npx install
Two ways to deploy
Pick whichever fits your workflow — both run the same agent pipeline under the hood:
Option 1: Deploy with the Dashboard agent
Import a GitHub repository straight from the Nexlayer dashboard and let the agent build and deploy it — no local setup required.
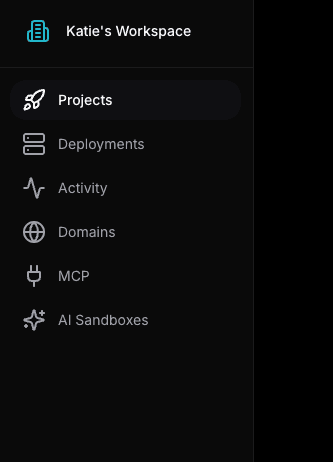
1. Open the Projects tab
In your workspace, click Projects in the left sidebar.
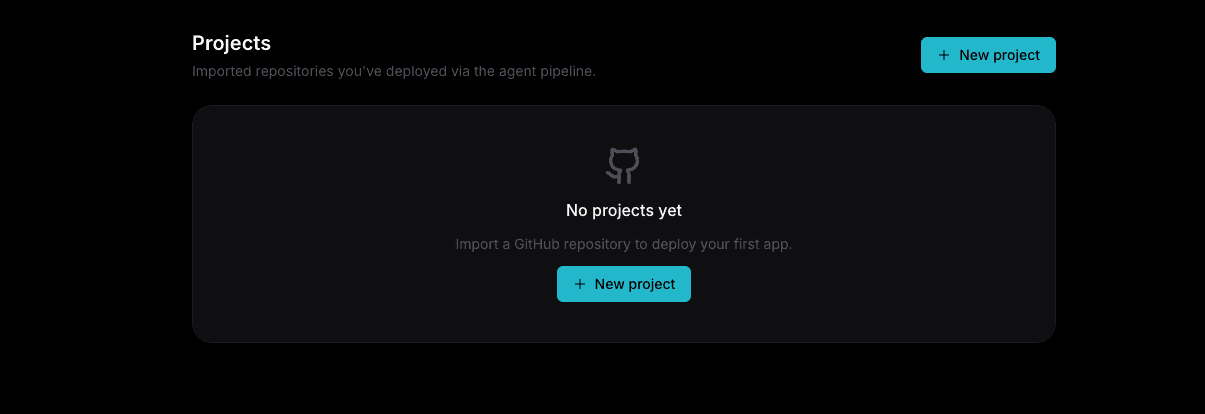
2. Create a new project
Click the New project button to start importing a repository.
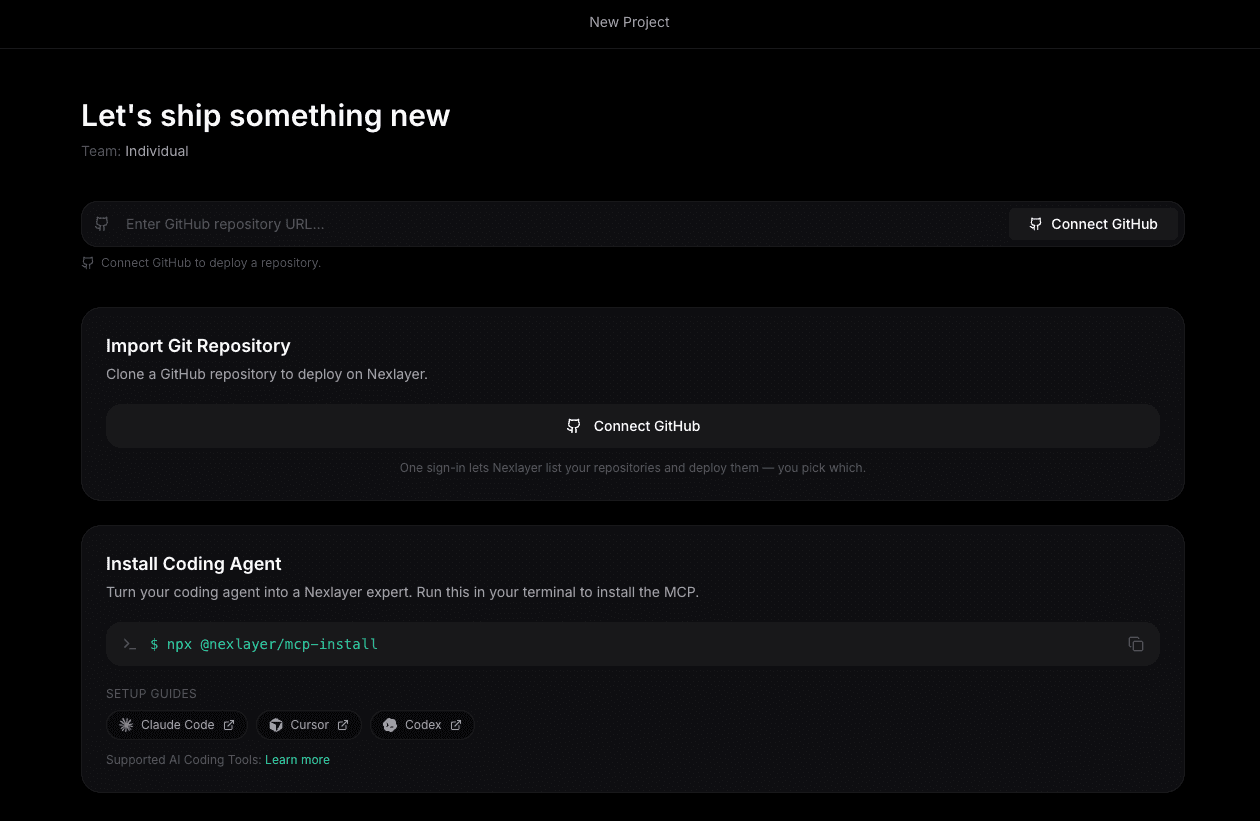
3. Connect your repository
Either paste your repository URL and select Connect GitHub, or click the Connect GitHub button under Import Git Repository to get started. One sign-in lets Nexlayer list your repositories so you can pick which to deploy.
Once connected, the agent detects your stack, generates a nexlayer.yaml, then builds and deploys your app.
Option 2: Deploy with the Nexlayer MCP Server
Turn your AI coding assistant into a Nexlayer expert and deploy without leaving your editor.
1. Install the Nexlayer MCP Server
Run this command to install and configure the Nexlayer MCP server for your coding tool:
npx @nexlayer/mcp-installThis will automatically detect your AI coding tool and configure the MCP connection.
2. Ask your AI to deploy
In your AI coding assistant, simply ask it to deploy your project:
> Deploy this project to Nexlayer

Analyzing your project...
→ Detected: Next.js 15, TypeScript, Tailwind CSS
→ Creating nexlayer.yaml configuration
→ Building and deploying...

✓ Deployed successfully!
→ https://name-space-your-app.nexlayer.ai  # Temporary URL
3. That's it!
Your app is now live. The AI assistant will provide you with:
- A live URL where your app is running
- A
nexlayer.yamlfile in your project for future deployments - Access to logs, metrics, and deployment management via your AI assistant
Understanding nexlayer.yaml
Nexlayer creates a configuration file for your project. Here's what a typical one looks like:
# nexlayer.yaml
application:
  name: my-app

pods:
  - name: web
    image: nexlayer.io/my-app:latest
    port: 3000

    resources:
      memory: 512Mi
      cpu: 0.5

    env:
      - name: NODE_ENV
        value: production
      - name: DATABASE_URL
        valueFrom:
          secretKeyRef:
            name: db-credentials
            key: url
Learn more about configuration in the Configuration Guide.